Ever created a Jira ticket as a simple Bug, only to realize it's actually a full-blown Feature request? It happens all the time. Knowing how to change an issue type in Jira is a core skill for keeping your projects organized and your data trustworthy. This isn't just about correcting a simple mistake; it's about making sure your backlog accurately reflects the work to be done.
Why and When to Change a Jira Issue Type
Changing an issue's type is more than administrative cleanup; it directly impacts your team's workflow, reporting accuracy, and project clarity. A misclassified issue introduces confusion and can disrupt your development cycle.
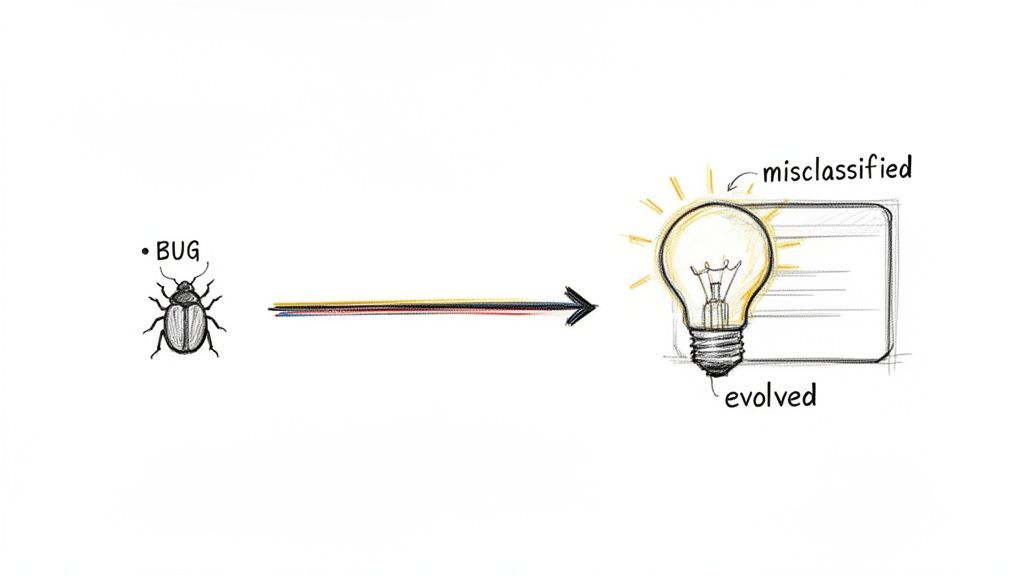
Consider a common scenario: a customer reports a UI glitch, and you log it as a "Bug." During investigation, the team discovers it's a symptom of a deeper architectural flaw requiring significant development. The issue is now a "Story" or even an "Epic." If you leave it classified as a "Bug," you misrepresent the required effort, which will throw off your sprint planning.
Common Triggers for an Issue Type Change
You'll need to change a Jira issue type in a few common situations:
- Scope Creep: A simple "Task" to update documentation reveals the need for new functionality, requiring a change to a "Story."
- Initial Misclassification: A team member quickly logs an issue and selects the wrong type—a frequent and honest mistake.
- Promoting Sub-tasks: A "Sub-task" grows in complexity and must be tracked as a standalone work item, requiring promotion to a "Task" or "Story."
This is a recurring challenge in agile environments. In fact, a surprising 35% of all tickets end up needing a type change within their first week. Digging into Atlassian Community discussions shows that for teams managing over 10,000 issues a month, misclassifications cause 42% of all workflow disruptions, which can drag down sprint velocities by an average of 18%.
Maintaining the correct issue type isn't just about good housekeeping. It ensures that your team's velocity charts, cycle time reports, and project health dashboards reflect reality, enabling better forecasting and decision-making.
These adjustments are a normal part of agile development. As you learn more, it's helpful to explore the agile product development process to see how these small changes fit into the larger picture of delivering value.
The Essential Permissions for a Smooth Transition
Ever tried to change an issue type in Jira, only to find the option greyed out or missing? That's a classic permissions problem. Attempting this change without the right access is like trying to rearrange furniture in a locked room.
To get started, your account needs a specific set of permissions for the project. In Jira's terminology, changing an issue's type is a "Move" operation, even if it stays in the same project. Understanding the exact permissions required helps you solve access issues quickly.
The Two Core Permissions You Need
To switch an issue's type, your role in the project must have two fundamental permissions. Without both, you're stuck.
- Move Issues: This permission grants access to the 'Move' wizard, which is Jira's tool for changing an issue's type or moving it between projects.
- Edit Issues: Even if you're not changing the summary or description, altering the issue type is a core modification. This permission is essential for the process.
If you encounter an access wall, be specific in your request to your admin. Ask: "Could you please grant me 'Move Issues' and 'Edit Issues' permissions for the 'Dragonstone' project?" This clarity gets you a faster solution.
Think of it like a two-key system for a safe deposit box. The 'Move Issues' permission gets you into the room, but you need the 'Edit Issues' permission to actually open the box and change what's inside. You absolutely need both.
Beyond Permissions: The Hidden Prerequisites
Having the right permissions is only the first step. Many users get blocked by configuration mismatches between the original and target issue types, which can trigger confusing error messages.
A frequent blocker is an incompatible workflow status. For example, if your 'Bug' is in "Code Review" status, but you try changing it to a 'Story' whose workflow lacks that status, Jira will halt. You will be prompted during the move process to map the old status to a valid one in the new workflow.
Another common obstacle is a field configuration mismatch. If your 'Bug' requires a custom field like "Root Cause Analysis" that doesn't exist on the 'Story' screen, Jira will stop you. You must decide what to do with that field's data before proceeding. Anticipating these mapping conflicts will save you significant time and frustration.
How to Change a Single Issue Type in Jira
When you need to change the type of a single issue, your go-to tool in Jira is the Move operation. While the name might seem odd—you're not always moving it to another project—Jira's "Move" wizard is the designated tool for any major change to an issue's core attributes, including its type.
Let’s walk through a practical scenario. A customer reports an unexpected behavior, so a "Bug" ticket is created. After investigation, you realize it's a request for a new feature. The "Bug" must become a "Story."
Finding and Using the Move Issue Wizard
First, open the issue you want to convert. In the top-right corner, click the actions menu (three dots …) and select Move from the dropdown. This action launches Jira’s multi-step wizard to guide you through the process.
The first screen asks for the new project and issue type. Since you are only changing the type, keep the project the same and select "Story" from the New Issue Type dropdown menu. Click Next to proceed.
This is the standard Jira issue view where you'll find the actions menu to start the whole process.
From here, you have access to all the key functions for managing an issue, but the one we need right now is Move.
Mapping Statuses from One Workflow to Another
This next step is critical. Different issue types often use different workflows. Your "Bug" workflow might have statuses like Triage, Fix in Progress, and Ready for QA. In contrast, your "Story" workflow might be simpler, with Backlog, In Progress, and Done.
Jira requires you to map the current status to a valid one in the new workflow. If your "Bug" was in Ready for QA, you must map it to an equivalent status for a "Story"—likely In Progress or Done. Use the dropdown menu for the issue's current status to select the most logical equivalent.
Making Sure Your Custom Fields and Data Come Along
The final step is managing your data. What happens to information in fields from the "Bug" that don't exist on the "Story" screen? For example, your bugs might have a required "Affects Version" field that stories do not.
Jira is smart enough not to let you lose important data by accident. The wizard will make you decide what to do. You'll have to set new values for any required fields on the target "Story" that are currently empty. For fields that don't exist on the new issue type, the data is simply left behind.
Before finalizing, think carefully. If a custom field on the original issue contains critical notes, ensure a corresponding field exists on the new one. If not, copy that information into the description or a comment before you complete the move.
After reviewing all your mappings on the final confirmation screen, click Move. Jira handles the rest. The issue key (e.g., DEV-123) will remain the same, but its type will now be "Story," and it will operate within its new workflow.
Mastering Bulk Changes for Issue Types
Facing a backlog with dozens or hundreds of misclassified tickets? Changing them one by one is inefficient and tedious. This is where Jira’s bulk change feature becomes essential. It’s a powerful time-saver, but it demands caution—a small mistake can create widespread issues.
The process hinges on precision. Before you can modify anything, you must isolate the exact issues using a specific Jira Query Language (JQL) search. A poorly constructed query can pull in the wrong tickets, creating a bigger problem than the one you started with.
This flow breaks down the simple but critical sequence for a bulk change.
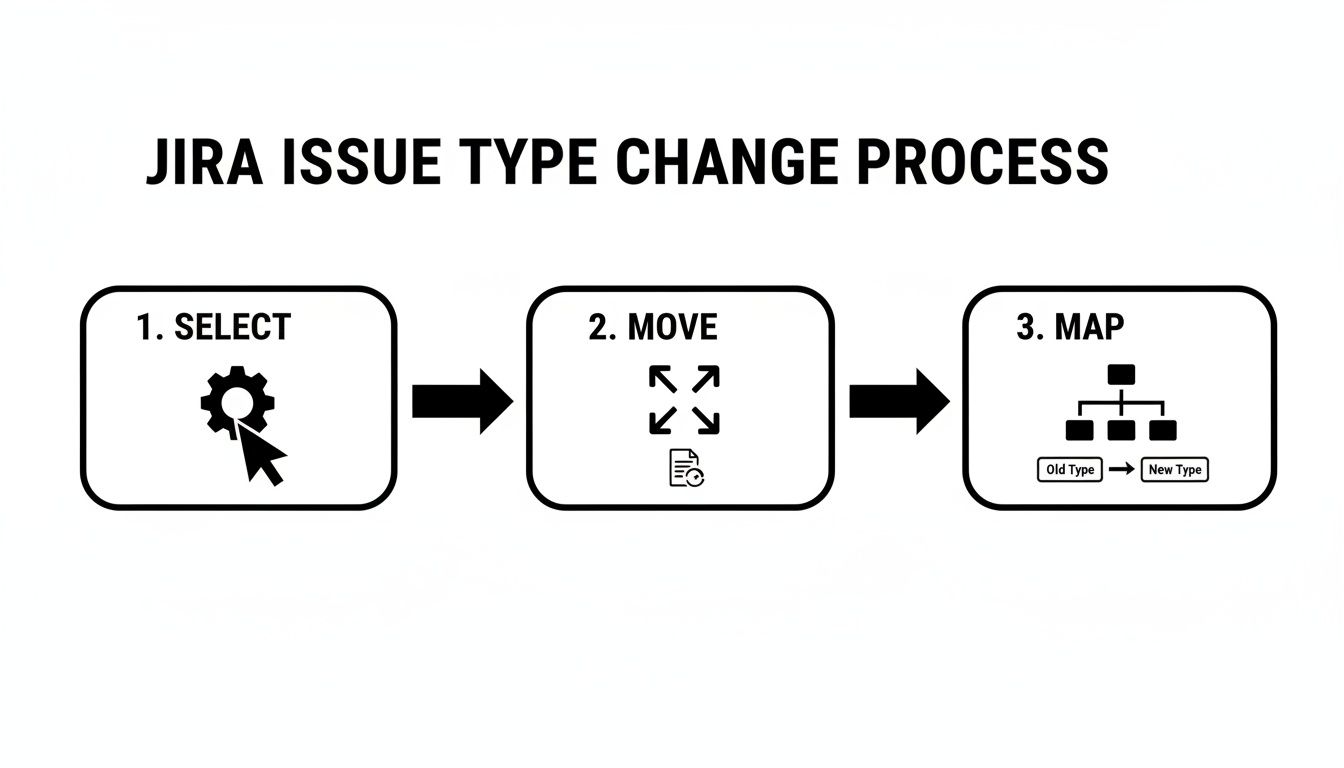
These core steps—selecting your issues with JQL, initiating the move, and mapping the fields—are your blueprint for successful bulk changes.
Crafting Your JQL Search
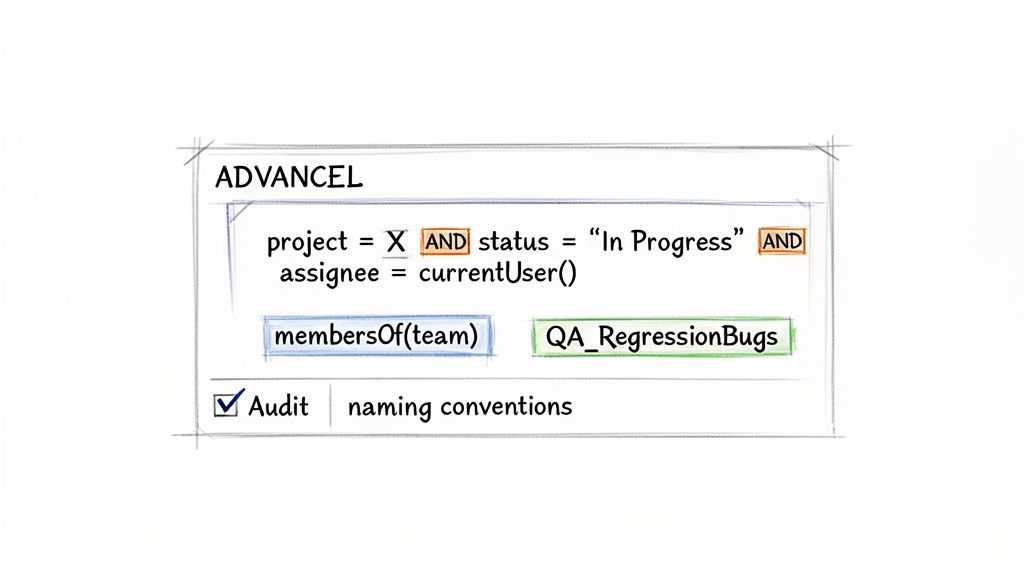
Use your JQL query like a surgical tool for precise selection. For example, imagine you need to convert all "Task" issues in the 'Phoenix Project' for the upcoming release into "Bugs."
A precise JQL query for this scenario would be:
project = "Phoenix Project" AND issuetype = Task AND fixVersion = "Q3-Release"
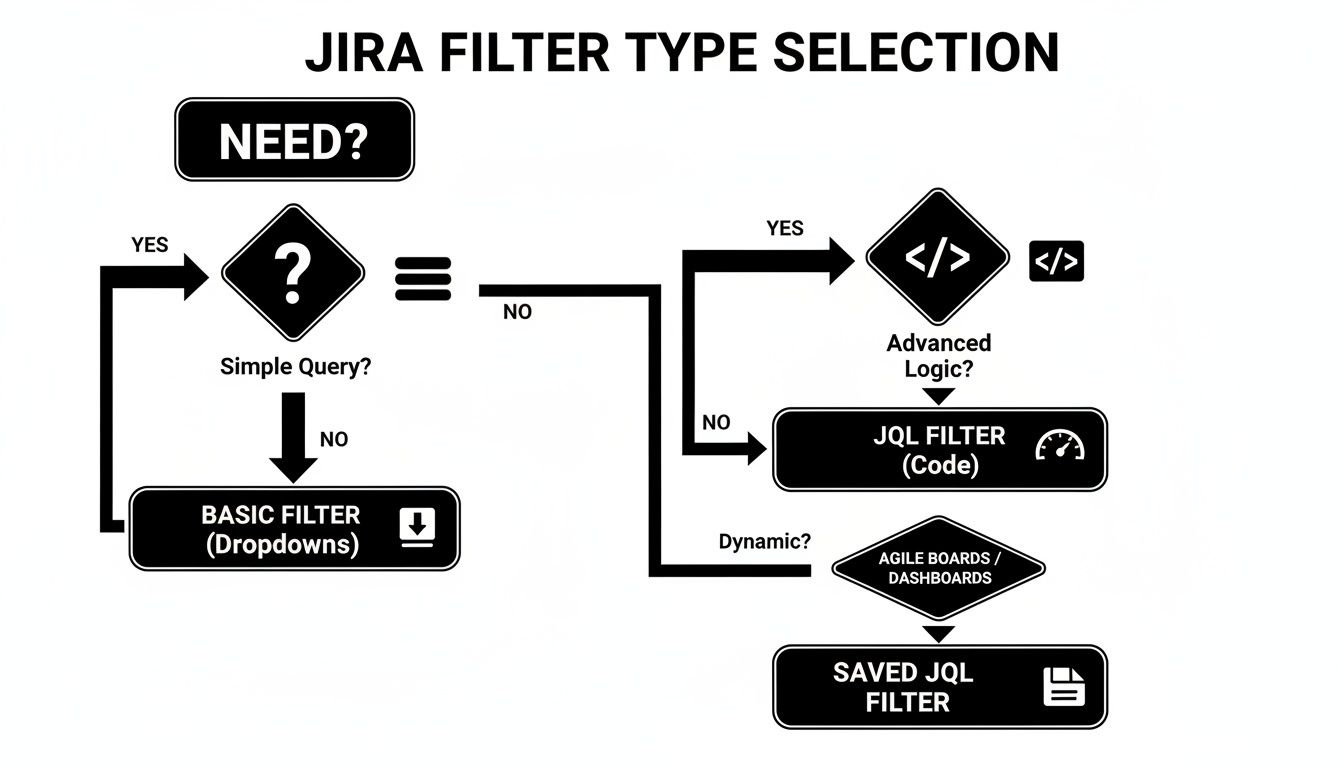
This query ensures you only target Tasks in the specified project and release, dramatically reducing the risk of unintended changes. If you're new to JQL, learning how to create a filter in Jira is an excellent way to practice building accurate queries.
Once your search results are correct, click the actions menu (the three dots … in the top-right corner) and select Bulk change all issues. This will start the same 'Move' wizard used for a single issue, but with higher stakes.
Navigating the Bulk Move Operation
While the bulk change process mirrors the single-issue move, there's a crucial difference: every decision applies to all selected issues. This requires extreme care, especially on the status and field mapping screens.
For instance, the tickets you've selected might be in different statuses, such as "In Progress" or "To Do." The wizard will prompt you to map each of these current statuses to a valid one in the new workflow.
Pro Tip from the Trenches: Always run a small test batch first. Before you pull the trigger on 200 issues, tweak your JQL to grab just 2 or 3 of them. Run the entire bulk move on that small sample to make sure the field mappings and status changes work exactly as you expect. This five-minute sanity check can save you hours of painful cleanup later.
Field mapping is also more complex in bulk operations. If any selected issues contain data in fields that do not exist on the new issue type, that data will be lost. The wizard will warn you, but it's your responsibility to verify that no critical information is dropped. Pay close attention to the final confirmation screen before you commit.
Single vs Bulk Issue Type Change Comparison
Here’s a quick breakdown of when to use each method and what to watch out for.
| Consideration | Single Issue Change (UI Move) | Bulk Issue Change (Bulk Operation) |
|---|---|---|
| Best Use Case | Correcting a single misclassified issue. | Reclassifying multiple issues at once (e.g., post-import cleanup). |
| Prerequisites | 'Move Issues' project permission. | 'Move Issues' & 'Bulk Change' global permissions. |
| Initiation | From the 'More' (…) menu on the issue view screen. | From the search results screen after running a JQL query. |
| Risk Factor | Low. The impact is limited to one issue. | High. A mistake affects every issue in your query. |
| Key Challenge | Minimal; typically a straightforward process. | Ensuring JQL precision and carefully mapping statuses/fields. |
| Pro-Tip | Quick and easy for one-off fixes. | Always perform a small test run on 2-3 issues first. |
Both methods are valuable. Use the single-issue move for daily corrections and the bulk operation for large-scale administrative tasks, always respecting the power it wields.
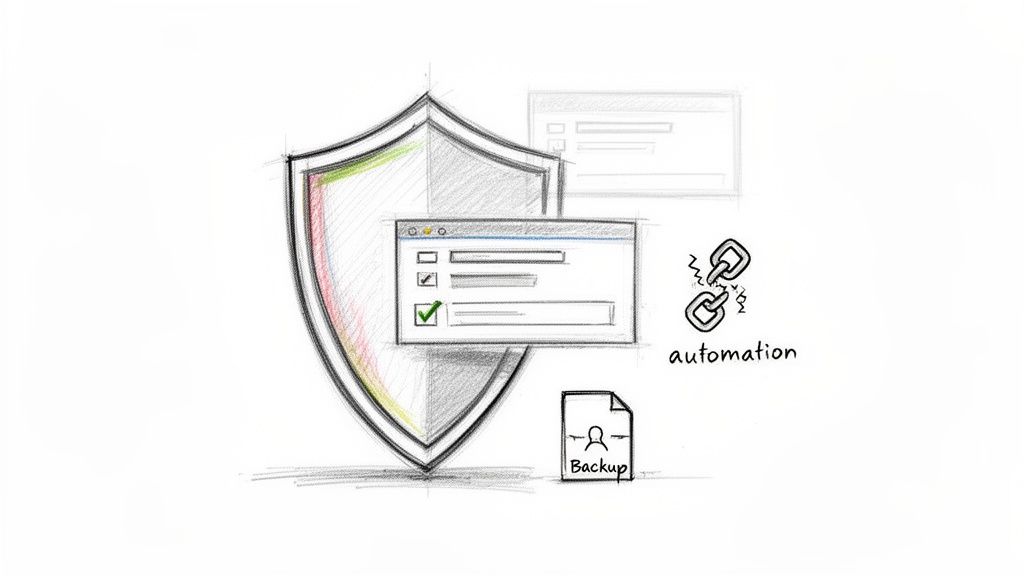
Common Pitfalls and How to Protect Your Data
Changing an issue type in Jira seems simple, but it's filled with potential traps. Teams can accidentally delete crucial data or break automations with a single misstep. Understanding these risks is the best way to safeguard your project data and maintain smooth operations.
The most frequent error is accidental data loss. If your "Bug" issue has a custom field like "Root Cause Analysis" filled with vital information, and you change the issue to a "Story" where that field doesn't exist, the text vanishes from the issue view.
The data isn't permanently deleted immediately—it's usually orphaned in the database—but restoring it is difficult. Actionable Step: Always review the field mapping screen carefully. If you see a field with important data that has no destination, cancel the move. Copy the data into the description or a comment, then restart the process.
Renaming vs. Changing an Issue Type
It's critical to distinguish between changing an issue's type and renaming an issue type globally. These are different actions with vastly different impacts.
Changing a single issue from a Bug to a Story is a low-risk, routine task.
However, renaming an issue type at the admin level (e.g., changing "Task" to "Action Item" in settings) can be catastrophic. Data from the Atlassian forums shows this can break up to 62% of custom configurations. JQL queries, filters, and boards referencing the old name will instantly fail. Worse, 75% of related automation scripts could stop working, inflating resolution times by over 55%.
My golden rule is this: Once an issue type is in active use, treat its name as permanent. If the name is truly causing problems, it’s far safer to create a new issue type with the right name and migrate the issues over. Don't risk a global rename.
Protecting Your Workflows and Automation
Workflows are another major vulnerability. When you change an issue's type, it might move to a new workflow. If the issue is in a status like "Ready for QA" that doesn't exist in the destination workflow, Jira will force you to map it to a new status.
A poor mapping choice—such as moving "Ready for QA" back to "To Do"—can derail your process by skipping a critical quality check. To manage this better, review our guide on changing workflows in Jira.
Approach every issue type change defensively. Double-check field mappings, understand the difference between moving and renaming, and consider the downstream impact on workflows and automations. A few minutes of diligence can save hours of cleanup.
Frequently Asked Questions About Jira Issue Types
Even with clear instructions, you may encounter tricky situations when changing issue types in Jira. Here are answers to the most common questions.
What Happens to the Original Issue Key When I Change the Issue Type?
Nothing at all. The issue key, like PROJ-123, is its permanent identifier. It remains with the issue regardless of type changes or even moves to different projects.
This is crucial for maintaining a complete audit trail and historical context. All existing links in Confluence, bookmarks, or chat messages will continue to work correctly, preventing broken references and confusion.
Can I Change an Issue Back to Its Original Type?
Yes, the process is fully reversible. Follow the same "Move" steps as before, but select the original issue type as your destination.
However, be cautious. Reversing the change requires the same diligence as the initial move. If you added data to custom fields that only exist on the new issue type, that information could be lost when you switch back. You will have to map statuses and fields again, so proceed carefully.
Just because you can undo something doesn't mean it's risk-free. If you've added critical information, play it safe. Copy it into the description field or a comment before you change the type back. That way, nothing gets lost in translation.
Why Is the Move Option Greyed Out or Missing?
This is almost always a permissions issue. The "Move" operation is powerful, and Jira protects it with two specific project-level permissions:
- Move Issues: This permission is required to launch the move wizard.
- Edit Issues: This permission is necessary to modify the issue's data, including its type.
If you are missing either of these permissions for the relevant project, the option will be unavailable. To resolve this, contact your Jira Administrator and request the necessary permissions for that specific project.
Is It Better to Create a New Issue Instead of Changing the Type?
This depends on the situation, but the guiding principle is to maintain clarity and a clean audit trail.
Here are two scenarios to guide your decision:
- For simple corrections: If an issue was logged as a "Task" but is clearly a "Story," changing the type is the best approach. It's fast, efficient, and avoids cluttering your backlog.
- For a massive change in scope: If a simple bug report evolves into a major project spanning multiple sprints, create a new "Epic" and link it to the original bug. This cleanly separates the initial report from the larger implementation effort.
When in doubt, choose the action that makes the workflow easiest for everyone to understand. If your team frequently debates issue types, it may be time to establish clearer project guidelines. For more ideas on streamlining processes, explore our guide to Jira workflow automation.
At Harmonize Pro, we build powerful Jira apps that turn your complex processes into dynamic, automated workflows. With Nesty, you can enforce quality gates, automate handoffs between teams, and build unlimited nested checklists right inside a single Jira ticket, ensuring no step is ever missed. Transform your Jira workflows with Nesty.